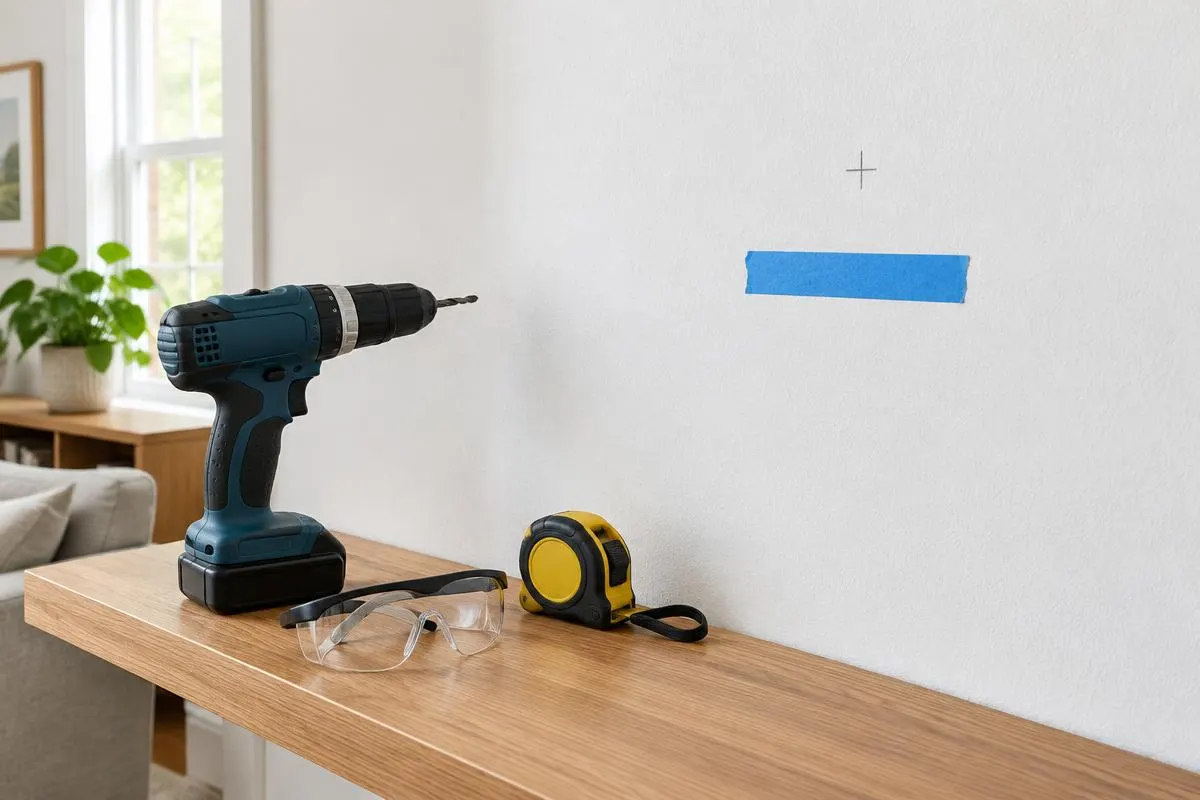
You have the shelf, the drill, and a spot picked out. How complicated can a few holes be? Usually, wall mounting is manageable—but the painted surface hides the details that matter most. Framing, wires, pipes, and the condition of the wall can turn a simple project into an expensive surprise.
Before you squeeze the trigger, take a few minutes to understand what you are drilling into and how the finished installation will be supported. You do not need to become a contractor. You do need to know when your plan is solid—and when guessing is not worth the risk.
1. Find the studs—not just a convenient spot
Drywall finishes a room; the framing behind it supports many wall-mounted loads. Heavy shelves, television mounts, and other substantial objects commonly need fastening into suitable studs or installed blocking, following the mounting manufacturer's instructions. Metal framing may require a different fastening system than wood framing.
Scan slowly, following the detector's calibration instructions, and repeat from both directions. Mark the detected edges and center. Check for a consistent framing pattern rather than trusting one signal. Stud spacing often follows a pattern, but corners, openings, renovations, and older construction can interrupt it.
A magnet can help locate drywall fasteners, but a signal alone does not prove that you have found suitable framing. Nor does finding a stud mean that drilling into it is automatically safe: utilities can pass through framing. If the readings are inconsistent, stop and investigate instead of making exploratory holes.
2. Look for hidden wiring and plumbing
Look at both sides of the wall when accessible. Outlets, switches, sinks, showers, radiators, and appliances provide clues about possible utility routes. Available plans and accessible basement or attic views may help, too. These clues are not a map: wiring and pipes can run vertically, horizontally, or along unexpected paths.
Electronic detection tools have limits. Depth, wall material, moisture, metal shielding, and the condition of a circuit can affect readings. Live-wire detection generally depends on energized wiring; a negative reading cannot establish that no cable is present. Plastic pipes may also be missed. No electronic detector can guarantee a safe drilling location.
Follow the tool's instructions for scanning, then isolate the relevant electrical circuits before drilling and have de-energization verified with an appropriate method by someone qualified to do so. A stud finder's live-wire feature is not a voltage tester. Turning off electricity does not eliminate the danger of damaging a cable or pipe. If you cannot confidently assess concealed utilities, have a qualified professional identify a suitable mounting location.
3. Know when anchors are appropriate
Drywall anchors can be appropriate for some lighter-duty installations when the wall is sound and the anchor is rated for that application. The correct choice depends on wall thickness, the item, and how the load acts—not simply whether the package says 'heavy duty.'
A shelf projects outward, creating leverage. A towel bar gets pulled. A moving television arm changes the forces on its attachment points. For heavy, projecting, overhead, or safety-critical items, use the structural mounting method specified by the manufacturer. Never assume an anchor rating makes drywall suitable for grab bars or other supports that must hold a person.
Do not add the advertised capacities of several anchors together to invent a higher safe load. Installation conditions and load distribution matter. Crumbling drywall, damaged plaster, or previous repairs can undermine an otherwise appropriate anchor.
4. Match the hardware to the wall and the load
Identify the wall material before choosing a drill bit or fastener. Drywall over wood framing, plaster, metal studs, brick, concrete, and tile require different approaches. Masonry anchors and bits are not interchangeable with drywall hardware. Tile adds a brittle finish and may conceal a waterproofing system you should not puncture without a suitable plan.
Account for the item's weight and everything it will hold. Use the specified bracket, fastener diameter, embedment, pilot hole, and installation method. The correct screw length allows the required engagement without unnecessary penetration; longer is not automatically safer. Do not substitute ordinary drywall screws for structural mounting hardware.
Wear eye protection, secure your footing, and control drilling depth as the installation instructions require. A depth stop can reduce accidental over-travel, but it cannot make an unknown wall cavity safe. Keep hands and bystanders clear, and do not force a drill through unexpected resistance.
5. Recognize the signs to stop
Stop if the detector gives conflicting signals, the wall feels loose, you encounter unexplained metal, or the bit meets unexpected resistance. A metal plate may protect a pipe or cable; do not drill through it. New cracks, dampness, staining, or a musty smell also deserve investigation before mounting anything.
Sparks, a shock or tingling sensation, burning smells, or sudden water leakage are not normal drilling problems. Stop work, keep people away, and do not touch potentially energized or wet equipment. Arrange safe isolation and urgent help from the appropriate qualified professional; call emergency services for smoke, fire, or immediate danger.
In an older home, suspect materials can raise asbestos or lead concerns. Do not disturb unidentified finishes or create dust until the risk has been assessed. Call an electrician, plumber, or qualified installer when the uncertainty involves their specialty.
A few minutes now can prevent a costly mistake
Measure carefully, identify the wall and likely hazards, and choose a mounting system that fits the job. If something does not add up, pause. The goal is not just getting the item onto the wall—it is keeping it there without damaging what is behind it.
Anticipate. Ask. Document. Verify.
This article provides general homeowner education, not a guarantee that any drilling location or mounting method is safe. Follow manufacturer instructions and applicable requirements, and consult a qualified professional when conditions or hazards are uncertain.